Dumplings Many Ways


Here’s something I have grown up with and is a dish that brings me to a place of comfort. As a kid, I would IMPATIENTLY watch my mother and grandmother cut fresh full size leaks and make homemade dough, which would TAKE HOURS. When I got married, I found myself often CRAVING the same food but didn’t have the time to make my favorite dumplings so I found some SHORT CUTS. Pre-made dumpling wrappers and baby leaks, which are much easier to cut up, cut the prep time in less than half and allowed me to make this dish on a weeknight after work.
This is my BASE RECIPE for making the dumplings but it doesn’t stop there! Look under the recipe for different ways to adapt it. Happy dumpling making!
PREP TIME: 45 minutes l COOK TIME: 10 minutes l TOTAL TIME: 1 hour

Baby Leaks
Ingredients
Dumpling Mix
8 oz package of baby leaks
If you have a hard time finding baby leaks then you can use one large white onion in its place. Be sure to mince the onion before adding it into the final mix.
1 lb. ground chicken, you can use ground turkey, beef or even tofu!
1 inch fresh ginger, finely minced
3 cloves garlic, finely minced
1 teaspoons ground black pepper
Salt, to taste
1 tablespoon vegetable/canola oil
Dumpling Wrapper
12 oz package of Nasoya Won Ton Wraps
You can also use your favorite wonton wraps from your local asian grocery store.
Dumpling Making Equipment
1 large sheet tray lined with parchment paper
Steamer (steamed dumplings) or Fry-pan (fried dumplings)
Directions
Serving size: 7-8 dumplings
Heat the oil in a large, deep saucepan and add in the garlic, ginger, ground protein of your choice, black pepper and salt. With the heat on medium, allow for the meat to brown slightly before turning off the flame.
Finely chop the leaks (or onion) while waiting for the meat to brown. Be sure to rise the leaks thoroughly after chopping them as they hold lots of dirt. Let them drain after rising to avoid adding any water to the final mix.
Allow the meat to cool to avoid wilting the leaks and add them in.
Now its time to set up the dumpling making station! The easiest way to work for me is to have everything laid out in front of me and power through tons of dumplings.
Set up the following around you and get to work!
Small bowl of warm water
Large baking sheet lined with parchment paper
Wonton wrappers
Dumpling mix
Cooking
A - To steam the dumplings, lightly spray the bottom of the steamer and place the dumplings without having them touch to avoid sticking. Once the skin on top is soft to the touch, they are ready! Takes about 10mins for fresh ones and 15mins for frozen.
B-To fry the dumplings, add a thin layer of oil on the bottom of a fry pan and add the dumplings. Try the dumplings once one side has turned crisp and do the same for the other side. Once both sides are crispy, add a touch of water and place a lid over the fry-pan. Let all the water evaporate and you should be good to go.

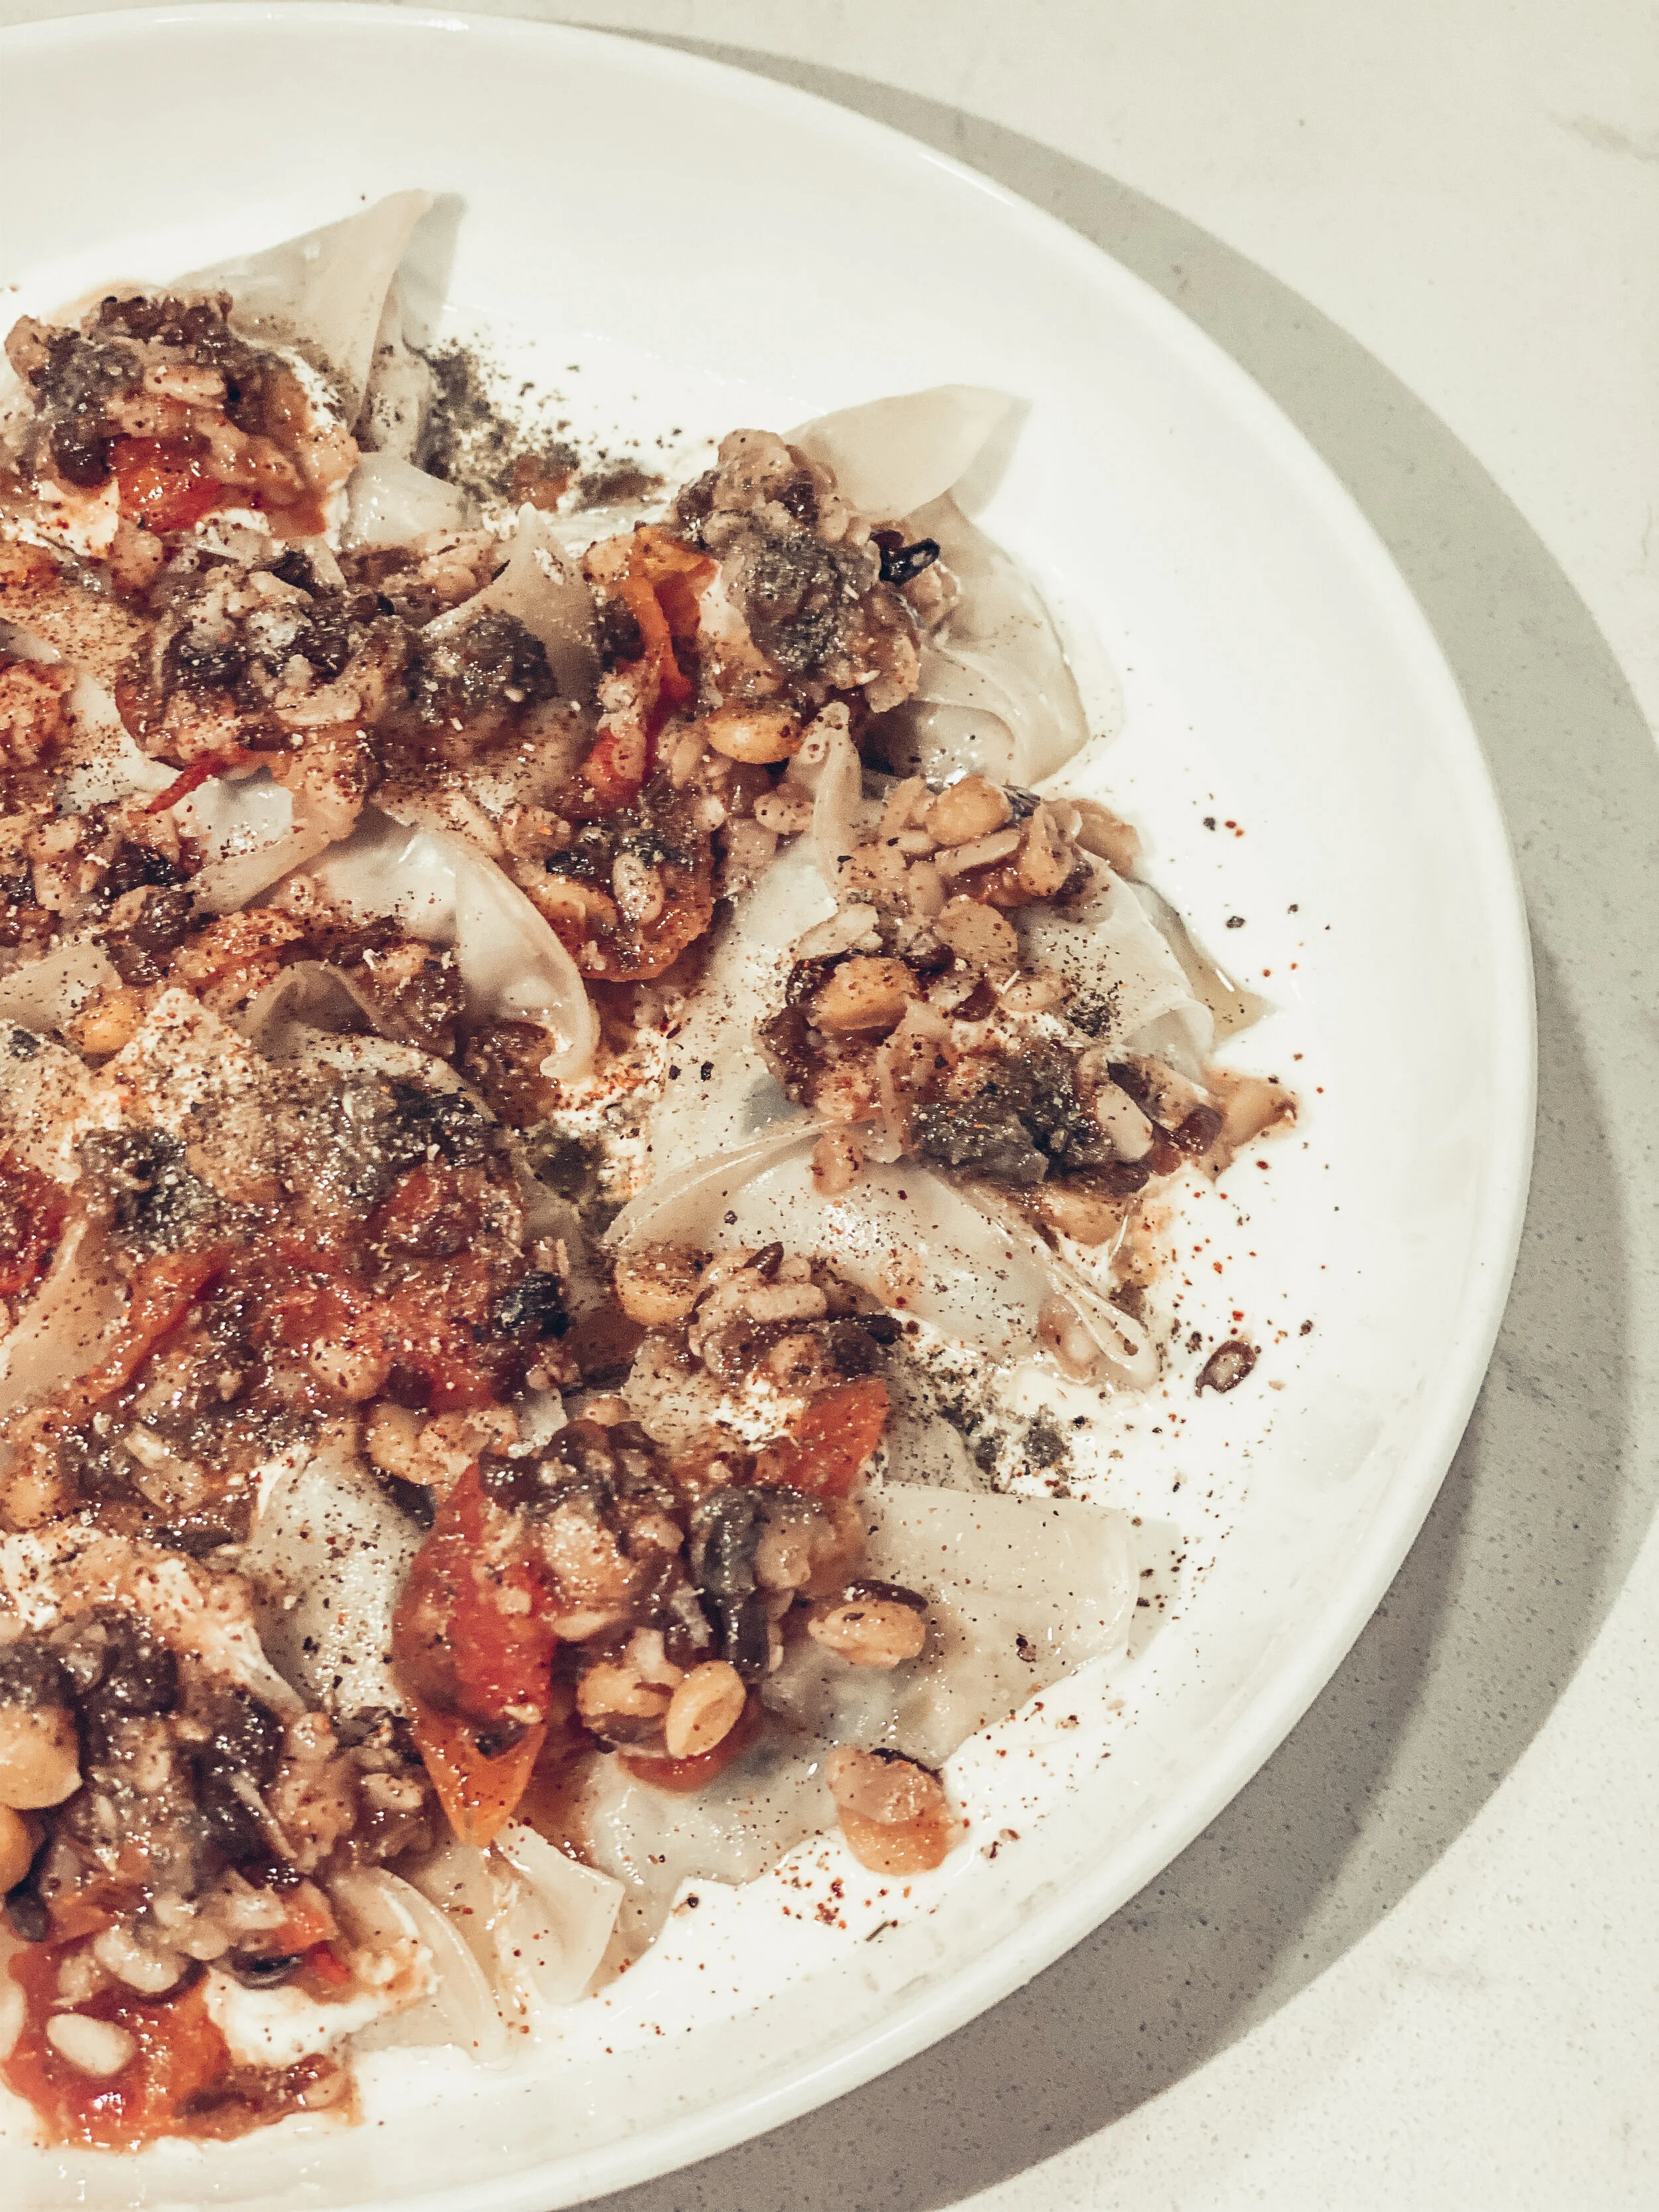
The Triangle
Shapes
Over the years I’ve found that its easier to fry some shapes and steam others so I make my dumplings based on how I wish to cook and serve them. The two ways that I found myself going back to are called THE TRIANGLE and THE PYRAMID.

The Pyramind
THE TRIANGLE: Lay one piece of the wonton wrapper across the palm of your hand and wet the 2 sides on the wrapper. Place one teaspoon of the filling in the center of the wrapper and fold the wrapper diagonally flat across your hand. Squeeze together the ends with your fingers, place flat on the parchment and continue on making more.
THE PYRAMID: Lay one piece of the wonton wrapper across the palm of your hand and wet all 4 sides on the wrapper. Place one teaspoon of the filling in the center of the wrapper and bring up two opposite ends up to the center and pinch. Now bring up the other 2 edges to the center and pinch the top, as well as the sides closed.
You can easily FREEZE these on the parchment paper at first and then move them to a zip lock bag once they are frozen. I typically store 14-16 PIECES together which is enough for 2 SERVINGS.